 Save
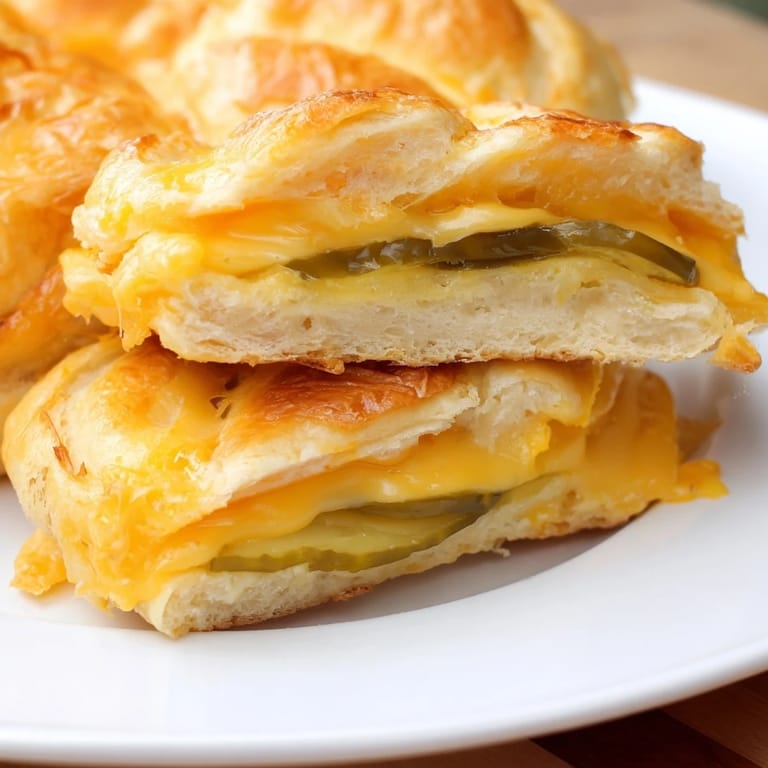
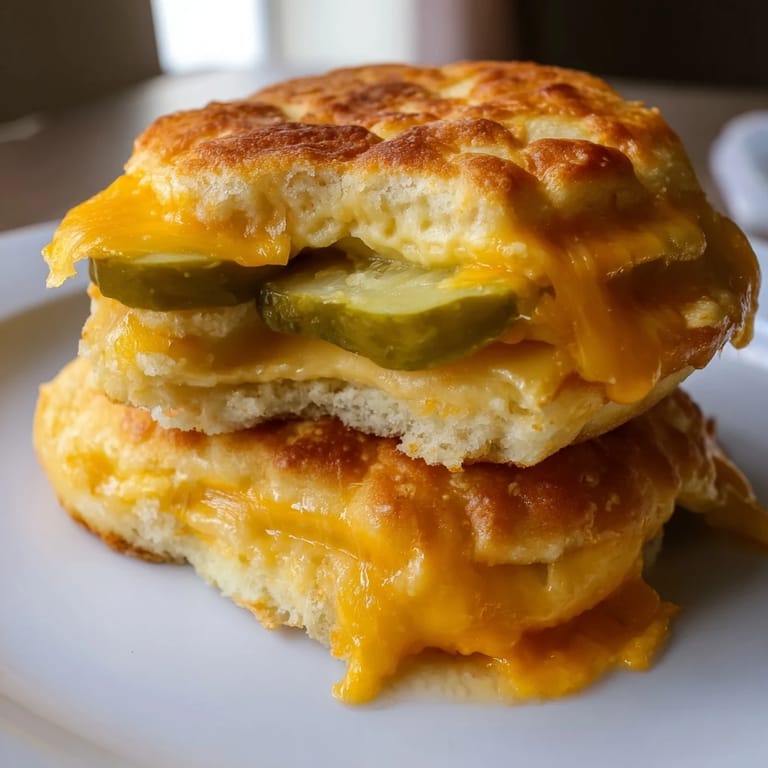
Save The first time I bit into a crispy cheese wafer at a friend's potluck, I realized what I'd been missing all along—the satisfying snap of melted cheddar with just enough char on the edges. That moment sparked an idea: what if I layered pickles between two pieces of that golden cheese before it set? The tanginess hit differently when cradled in something so rich and salty. What started as kitchen curiosity became my go-to lunch solution when I needed something filling but didn't want the heaviness of bread.
I made these for my sister when she mentioned struggling to find satisfying low-carb lunches, and watching her eyes light up when she bit into one told me I'd stumbled onto something special. She's now made three batches without telling me, which feels like the highest compliment.
Ingredients
- Sharp cheddar cheese slices: Eight slices about a quarter-inch thick give you the right amount of melt without spreading too thin; sharper varieties add a depth that keeps things interesting.
- Sandwich pickle slices: Twelve to fourteen long dill slices work best when you pat them dry first—moisture is the enemy of crispiness, and I learned this the hard way.
- Mayonnaise: Two tablespoons optional, but it adds a cooling element that balances the pickle's punch beautifully.
- Dijon mustard: Just two teaspoons if you want it—this brings a subtle sharpness without overpowering.
- Tomato slices: Two slices add freshness and moisture, though they're completely optional depending on your mood.
- Deli turkey or ham: Four slices give you protein and substance; skip them if you're keeping things vegetarian.
Tired of Takeout? 🥡
Get 10 meals you can make faster than delivery arrives. Seriously.
One email. No spam. Unsubscribe anytime.
Instructions
- Heat your oven and prepare:
- Set the oven to 400°F and line your baking sheet with parchment paper—this prevents sticking and makes cleanup feel effortless. You'll want everything ready before the cheese hits the heat, because things move fast once they start melting.
- Build your cheese-pickle layers:
- Lay four cheddar slices on the sheet with space between them, then cover each one with overlapping pickle slices like you're creating a little edible mosaic. The overlap matters because it keeps everything anchored when the cheese melts around it.
- Cap with cheese:
- Place another cheddar slice on top of each pickle layer and press down gently—you're not squashing, just making sure everything bonds together. This gentle pressure helps the cheese and pickles fuse into one crispy unit.
- Bake until golden:
- Watch for seven to eight minutes as the cheese bubbles at the edges and turns golden brown; the sound of it sizzling is your signal that magic is happening. Remove when you see that beautiful brown color starting to emerge.
- Cool and set:
- Let everything rest for five minutes—this is crucial because it allows the cheese to firm up enough to handle without falling apart. I learned this after burning my fingers trying to rush things.
- Add toppings if desired:
- Spread mayo and mustard on the inside of your cheese buns, then add tomato and meat if that's your style. This is where you make it personal—there's no wrong choice here.
- Assemble and serve:
- Carefully press two cheese-pickle buns together with your fillings tucked inside, then eat immediately while everything is still warm and crispy. The moment you let it sit too long, you lose that textural magic.
 Save
Save There was a moment when my kids actually asked for these instead of their usual sandwich, and I realized I'd accidentally created something that bridges the gap between what tastes good and what actually nourishes you. That's when food stops being just food and becomes a small victory.
Flavor Combinations Worth Trying
Once you master the basic version, the possibilities open up naturally—swap sharp cheddar for creamy Swiss if you want something milder, or go full savory with provolone. I've experimented with hot pickles for an unexpected kick, and even added thin slices of jalapeño between the layers when I wanted to test my spice tolerance. The beauty here is that you're working with bold flavors that stand up to riffing.
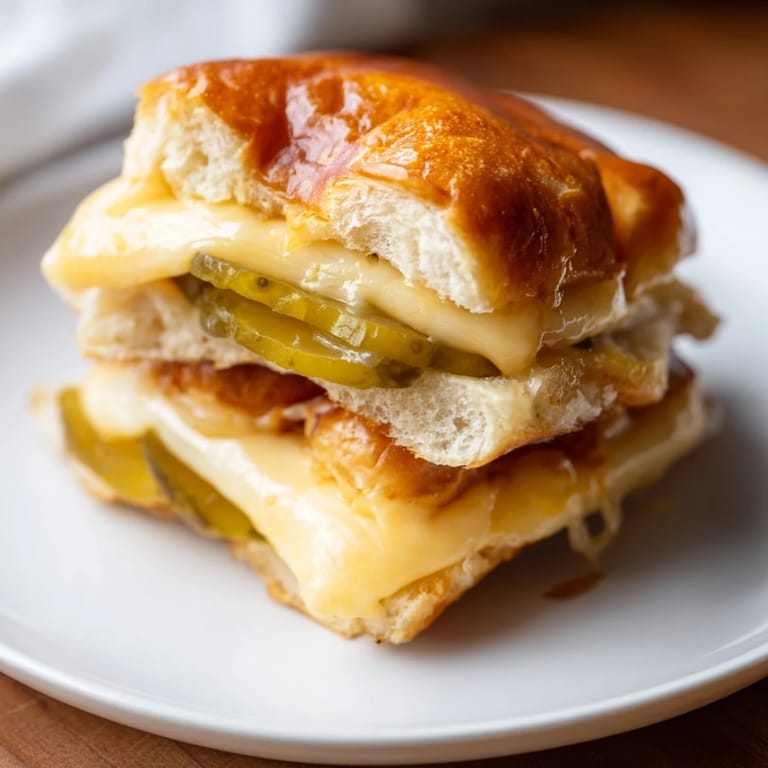
Texture Is Everything
What makes this sandwich work isn't just the flavors—it's the contrast between the crispy, slightly charred cheese edges and the crunch of the pickles inside. I've learned that temperature matters too; eating these immediately while they're still warm and crispy is non-negotiable. If you find yourself with leftovers (rare), a quick trip through the toaster oven brings back that magic crispness that makes them worth eating.
Meal Prep and Storage
These don't store as beautifully as traditional sandwiches, but that actually works in your favor because it forces you to make them fresh each time you need them. The good news is that the whole process takes less than 20 minutes, so fresh is always within reach. I usually prep my pickles and have my cheese sliced before the oven even preheats, which cuts active cooking time down to nothing.
- Always pat pickles dry the moment you drain them—moisture is the biggest enemy of crispiness.
- Keep your cheese cold right up until assembly so the slices stay firm and easy to handle.
- Serve immediately after assembly while the cheese still has that warm, slightly-melted texture.
 Save
Save This sandwich proved to me that sometimes the best kitchen discoveries come from asking questions nobody else asked. Every time I make it, I remember why simple ingredients treated with care will always beat complicated recipes.
Recipe FAQ
- → How do I prevent the cheese buns from sticking to the baking sheet?
Line the baking sheet with parchment paper or lightly coat it with nonstick spray before placing the cheese slices.
- → Can I use different cheeses instead of sharp cheddar?
Yes, Swiss or provolone are excellent alternatives that melt well and provide a different flavor profile.
- → How do I achieve a crispy texture on the cheese buns?
Bake at 400°F until edges are bubbly and golden brown, then let cool for the buns to set and become crisp.
- → What pickles work best for the filling?
Long dill pickle slices drained and patted dry offer the ideal balance of tang and crunch for this dish.
- → Can I add fillings to customize this snack?
Yes, optional additions like mayonnaise, Dijon mustard, tomato slices, and deli meats enhance flavor and texture.
- → Is this suitable for gluten-free and low-carb diets?
Absolutely. The cheese buns replace traditional bread, making this a gluten-free and low-carb friendly choice.